Hello Again! I am currently running errands, and found a WiFi connection, so I figured this was a great time to post another fun weekend crafting tutorial! This week, Rick Rack Rosettes! My favorite thing about these is that, with a little patience and effort, you can make an adorable accessory for very little money and in very little time! When finished, these rosettes call to mind the beautiful porcelain rosettes of the 1950's and 60's, with all of the class and charm, and for a fraction of the price. So, let's get started!
What You'll Need:
A package of Rick Rack of your choosing. This can be purchase at any store that sells sewing notions: Hobby Lobby, Joann's, etc. I found that Joann's had the best selection, though I have purchase my packages at both. You will have the choose of either medium or jumbo rick rack: the size you choose will dictate the finished size of your rosettes. A good example would be the above picture: the two side flowers are made of medium rick rack, while the middle rose is made of jumbo rick rack. Rumor is that medium rick rack is easier to work with, though I have not found a marked difference, so it is purely your choice.
Decorative items for the middle (if you would like them, not necessary). I personally use little pearls a lot. There are two ways you can do this: either buy cute little pearl brads, which make it easier to roll, or buy a package of sticky back pearls. The brads will be much easier to work with, but they are far more expensive. The picture above is the little sticky pearls: at the bottom is a picture with a blue pearl that is on a brad. I also occasionally use the sticky rhinestones.
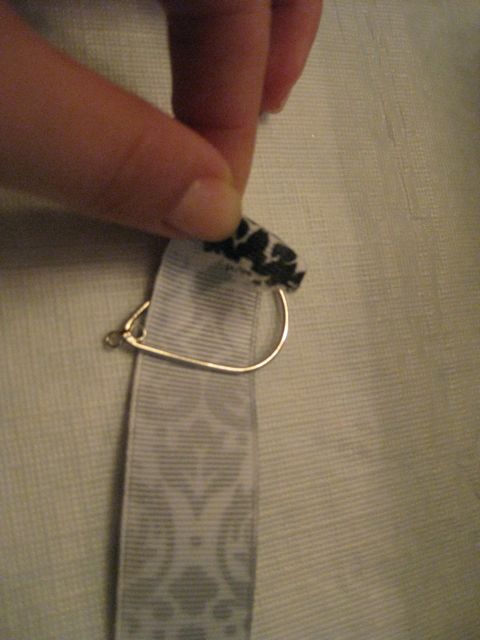
Felt or a jewelry finding to mount them on. When you are done with your rosettes, you will want to "seal" the bottom by hot-gluing it to a circle of felt. You can also just hot glue the rosette straight to a ring finding (found in the jewelry making section of craft stores like Hobby Lobby), or attach to a headband (also at a craft store in the jewelry making section), or a hair clip. Both the headband and the hair clip options will require felt to help you attach it, though.
Hot glue gun, a ruler, scissors, and a sewing machine. You will not actually need a sewing machine, as you could conceivably have hand stitched everything, but I found it much faster on the machine, and it turns out very nicely. It is just a straight stitch, so nothing fancy is necessary.
Let's Get Started! Cut your rick rack to desired lengths. The length you cut your rick rack to will determine the size of your rosette. Most of my rosettes are cut at 12 inch lengths, with a few at 18. I like the look of both. If you want a smaller rosette, I wouldn't go much smaller than 10 inches, which is the size I use for rosettes I am putting on a ring. Keep your cuttings in pairs: I have found one package of medium rick rack will give me three sets of 12 inch cuttings, and one set of about 10 inch cuttings.
Weave your rick rack together. When I do this, it feels a lot like braiding. I have found the most success when I clip the ends of the rick rack pair together, and then weave/braid from there. You are simply trying to put the "highs" of one piece through the "lows" of the next, if you think of them like wave crests. Be careful not to leave any spaces, or any wrinkles: simply connect them at each junction, and you will be fine.
Sew a straight stitch to secure your braid. Next, simply take a coordinating color thread (I chose matching colors, though in some cases I just matched closely, because you are not really going to see it), and sew a single straight stitch along the bottom. I would stay just right above the lower ridges: it will not hold quite right if the thread is jumping from bottom wave to bottom wave, and you don't want to be too high, or you will have to see it and the petals will not fold out quite as nicely.
Roll your braid. This is where you need a little bit of patience and finesse. You will take your braid by one end (after trimming off the excess thread, etc.), and begin to roll it in on itself. You will quickly start to see a rose shape forming. IMPORTANT: Make sure that your stitch is at the bottom of the rose, not at the top or it will not open at all. As you start your roll, place a small dot of hot glue right on the inside of the first roll to hold it together. It is at this point that you can either add your pearl brad, your pearl, your rhinestone, or nothing. The rosettes look beautiful any way. You will notice with the sticky pearls and rhinestones that you will really need to play with them to get them to stay just right, facing upward. I have found that rolling it a little first to get the shape, then placing a larger dot of hot glue, and then letting the hot glue stiffen just a little, makes it much easier to properly place your pearl/rhinestone in. If you find something that works well, please comment and let me know!


Once you have rolled your rosette, tucking the last little end underneath and hot gluing it securely in place, it should look something like the above picture. You can see my end pulled down and tucked under. Your last step is the fun step! You can do a few different things, so I will break them down. The easiest, if you are just using them by themselves as a table decoration or such, is to simply cut a circle of felt slightly smaller than the back of the rosette, and hot glue it in place.
Attaching to a ring finding. If you are attaching to a ring finding, simply put a large dollop of hot glue on the bottom of your rosette, and push the pad of the ring finding into the hot glue! Once it has started to cool a little, you can use your fingers to smooth the glue into a pleasing smooth bottom of the ring.
Attaching to a headband finding. Cut a small circle of felt slightly smaller than the rosette bottom. Simply hold your rosettes where you would like them, with the bottom against the headband, keep your fingers out of the way, and place a dollop of hot glue on both the headband and the rosette (just one dollop, that will smoosh over both). Then, place your little circle of felt on the other side, creating a sandwich of rosette, headband in the middle, and felt circle. This will harden and secure the rosette to the felt and headband. You can move it a little while the glue dries, but I would suggest being very careful to have it positioned where you want before you glue.
Here are some of my creations!
Good Luck! Let me know if you have any questions/improvements! Also link to your successes!
Yours in Beauty and Love,
Marijke